Installing an automatic slack adjuster is not a complicated process.
Internationally, many manufacturers of heavy-duty trucks, buses, and trailers have adopted automatic slack adjusters as standard components for their drum brake systems; their use has also become quite common on domestic buses. Furthermore, new regulations now mandate the installation of automatic slack adjusters on certain types of vehicles.
The specific procedure for installing an automatic slack adjuster is as follows:
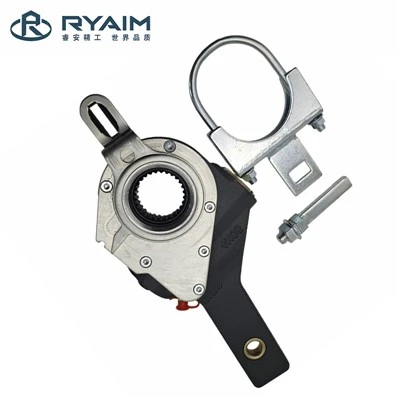
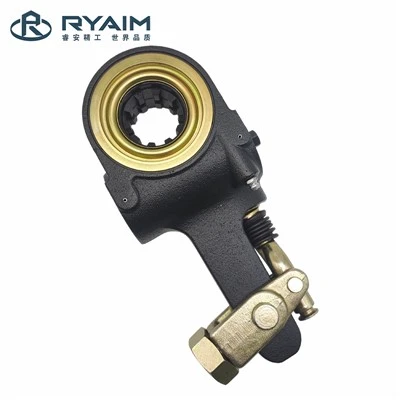
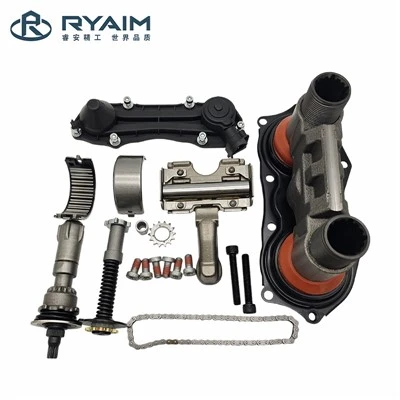
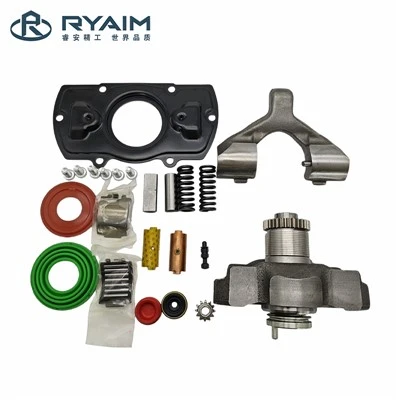
Installing the U-fork head: If the vehicle is equipped with a dual-chamber brake actuator, a pull rod must be used to lock the large spring within the dual chamber; this step is unnecessary for single-chamber actuators. If the large spring has not been locked-and the dual-chamber pushrod is in the extended position-do *not* attempt to connect the automatic slack adjuster to the actuator pushrod via the U-fork head, and under no circumstances should you insert the small pin into the U-fork. First, detach the U-fork head from the automatic slack adjuster and thread it onto the actuator pushrod. Insert the large pin through the fork head, using a specialized tool to seat it securely. Simultaneously, attempt to insert the small pin; if it does not go in, rotate the fork head slightly back and forth to align the holes. The U-fork head must be threaded onto the pushrod to a depth of at least 12.7 mm.
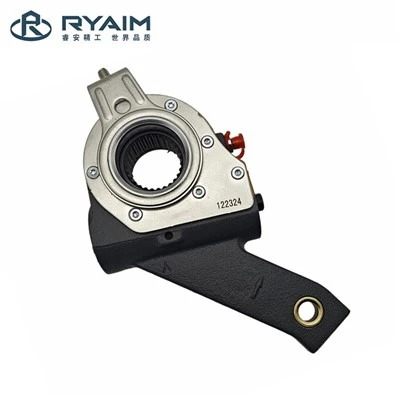
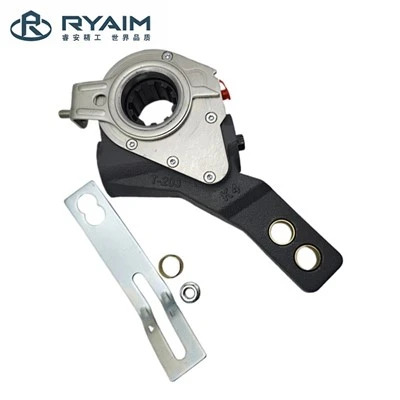
Installing the automatic slack adjuster: Begin by applying a layer of grease to the splines of the brake camshaft, then slide the automatic slack adjuster onto the camshaft. Using a 7/16-inch socket or wrench, turn the hexagonal nut on the slack adjuster clockwise until the bushing hole on the adjuster body aligns with the hole in the U-fork head. Insert both the large and small pins through the "Auto Check" indicator, and then insert the entire assembly through the aligned holes in the slack adjuster and U-fork head. Finally, insert the large and small cotter pins to secure the assembly, ensuring that the "Auto Check" indicator points to the "Home" position marked on the slack adjuster body. Afterward, securely tighten the locknut on the actuator pushrod, and use a pair of needle-nose pliers to install the camshaft washer and retaining clip.
Automatic slack adjusters offer numerous advantages, which also serve to simplify the installation process. They ensure that-even after a vehicle has been in operation for an extended period-a constant brake clearance is maintained, thereby guaranteeing optimal braking performance regardless of the degree of brake lining wear. By reducing the volume of compressed air consumed during braking, these devices significantly shorten brake response times-a critical factor in ensuring overall vehicle safety. Compared to manual slack adjusters, automatic slack adjusters present a lower degree of installation difficulty. This is particularly beneficial in vehicles with multiple axles, where the automatic system excels at ensuring balanced braking across all wheels, thereby enhancing overall driving stability.
In summary, provided that the installation steps are followed precisely, the process of installing an automatic slack adjuster is by no means complicated.