On our journey to explore vehicle maintenance knowledge, let us turn our attention back to the "Wei Academy"-a comprehensive platform for truck-related resources that is regularly updated to provide robust support for safe driving. Currently, manufacturers of heavy-duty trucks, buses, and trailers in regions such as Europe and the Americas have adopted automatic brake slack adjusters as standard equipment for drum brake systems. In China, however, while this feature is widely utilized in buses, its adoption rate in trucks remains relatively low-currently standing at less than 10%. Notably, the new GB7258 regulation explicitly stipulates: "Trucks and special-purpose vehicles with a gross mass exceeding 3,500 kg, semi-trailers with a gross mass exceeding 3,500 kg, and all vehicles transporting hazardous materials must be equipped with automatic brake slack adjustment devices for their service brakes." This mandate will undoubtedly serve to further enhance the safety performance of trucks within China.
To this end, we will now provide an in-depth breakdown of the specific installation and adjustment procedures for automatic slack adjusters, presented in a clear and easy-to-understand format.
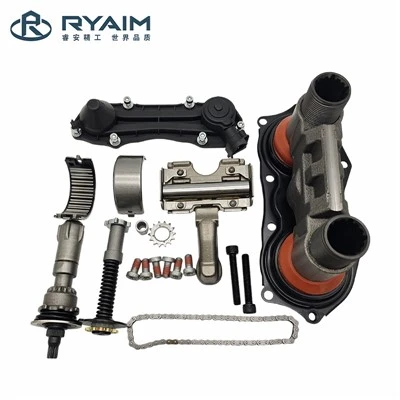
Installation and Adjustment Procedures
Steps for Installing the U-Fork Head
First, use a pull rod to lock the large spring within the dual-chamber brake actuator. This is a critical step that ensures stability throughout the installation process. (Note: If working with a single-chamber actuator, this step is not required.)
During installation, pay close attention to the status of the dual-chamber pushrod. If the pushrod has not been locked by the large spring and is currently in an extended (pushed-out) position, *do not* attempt to connect the automatic slack adjuster to the actuator pushrod via the U-fork head at this stage. Specifically, take care to avoid inadvertently inserting the small pin of the U-fork, thereby ensuring the accuracy and integrity of the installation.
After detaching the U-fork head from the automatic slack adjuster, thread it onto the actuator pushrod and ensure the large pin of the U-fork is inserted to complete the connection.
Using the specialized white tool provided by STEMCO, align and seat the large pin of the U-fork.
Once the large pin of the U-fork is seated, attempt to simultaneously insert the small pin of the U-fork. If the small pin cannot be inserted, slightly adjust the position of the U-fork-by rotating it forward or backward-until the small pin slides in smoothly.
Ensure that the U-fork is threaded onto the pushrod to a depth of at least 1/2 inch (approximately 12.7 mm).
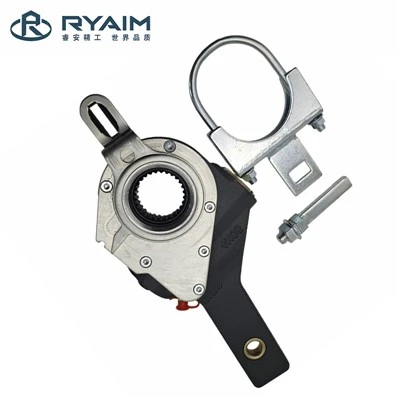
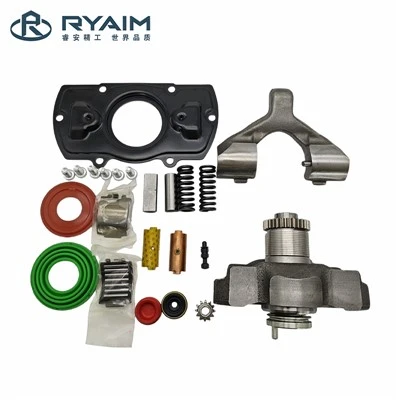
Automatic Slack Adjuster Installation Steps
First, apply an appropriate amount of grease to the splined section of the camshaft, then smoothly slide the automatic slack adjuster onto the camshaft.
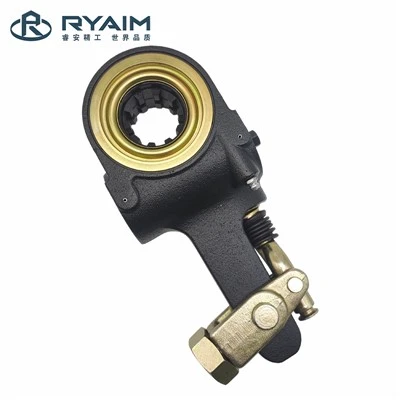
Next, using a 7/16" socket or wrench, rotate the hex nut on the slack adjuster clockwise until the bushing hole on the adjuster body aligns perfectly with the forkhead hole.
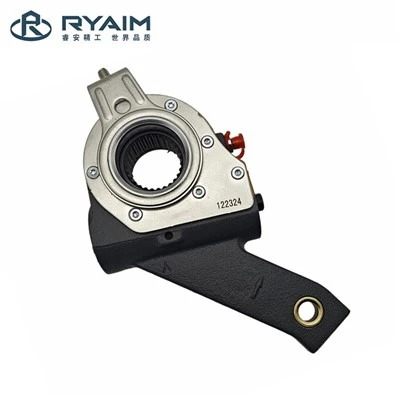
Insert two appropriately sized pins-first through the "Auto Check" indicator-and then push them together into the forkhead holes of the slack adjuster.
Insert the two cotter pins individually, ensuring that the "Auto Check" indicator points correctly to the "Home" position marked on the adjuster body.
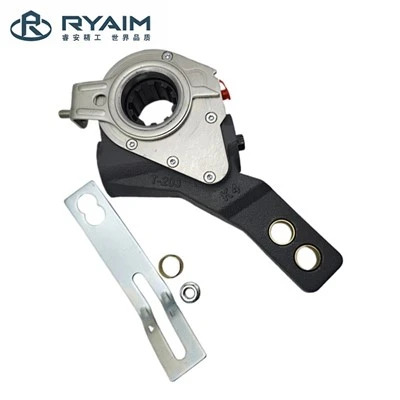
Using a pair of needle-nose pliers, properly install the camshaft washer and retaining ring.
Brake Clearance Adjustment
First, using a 7/16" socket or wrench, rotate the hex nut on the slack adjuster clockwise until the brake lining makes full contact with the brake drum. To ensure precise contact, it is recommended to use a torque wrench to tighten the hex nut to 27 N·m. This ensures that the brake lining and brake drum achieve a perfect fit, regardless of the operator's physical strength. Next, using a 7/16" socket or wrench, rotate the hex nut on the automatic slack adjuster counter-clockwise through an angle of 135 to 180 degrees. Alternatively, you may slowly rotate it counter-clockwise until the automatic slack adjuster emits a distinct "clicking" sound 12 times, while simultaneously lightly tapping the brake drum with a hammer; you should hear a crisp, clear sound (indicating that a proper clearance exists between the brake drum and the brake lining). This procedure helps ensure that the fit between the brake lining and the brake drum is optimally established.
Checking Air Chamber Stroke
First, pressurize the service chamber of the dual-chamber unit to 90 psi. During this process, ensure that the large spring within the parking chamber remains in a locked state, or-if necessary-compress the large spring by applying air pressure to that chamber. This ensures that the air chamber stroke can be accurately measured against the intended specifications.
Using a tape measure, precisely measure the distance from the face of the air chamber to the center point of the large pin on the yoke. Record this value in detail and designate it as L1.
With the brake pedal fully depressed and the air chamber pushrod in the full-braking position, use the tape measure again to measure the distance from the face of the air chamber to the center point of the yoke's large pin. Record this value and designate it as L2. Subsequently, calculate the difference between L2 and L1 (i.e., L2 - L1); the resulting value must not exceed the air chamber's specified working stroke, L (refer to the table below for the working stroke specifications for various air chamber sizes). Additionally, during the braking process, observe the "Auto Check" indicator to ensure it moves normally within the green zone. Once the above steps have been completed, the installation process is considered finished.
During the operational lifespan of the automatic slack adjuster, should it become necessary to replace the brake linings or the brake drum, you must strictly follow Steps 3 and 4 to readjust the brake clearance and ensure optimal braking performance. Under any other circumstances, the automatic slack adjuster requires no further adjustment.